I purchased my first 3D printer a little over a month ago. Since then I have had to brush up on my skills for troubleshooting electrical problems and learn by trial and error on how 3D printing works. Believe me, it has been a lot to learn but fun and I have a lot more to learn.
While sites like Thingiverse.com offer a great multitude of designs that you can download and print, usually for free, you will soon find yourself wanting to make something for a specific purpose. This might be a part to a piece of broken furniture or a clip for your backpack.
One of my passions is an amateur gunsmith and ammunition reloader. My primary press for reloading is a Dillon 550b (now they have a “c” model) which I love. Dillon Precision is a great company that stand behind their products and I highly recommend. The downside is that they are not as widely stocked as some of their competitors so find some parts and accessories means shopping online only. Here is where my 3D printer and design come in.
One of the great things about the Dillon progressive presses is the ease of changing calibers. This is primarily done through the changing of the toolhead that is used to hold and align the dies. Most reloaders using Dillon have a number of toolheads that are pre-set to the specs for the load they have developed. Storing these dies with their accessories like buttons, shell plates and powder funnels is often challenging. Dillon has a solution for this in their Toolhead Stand.
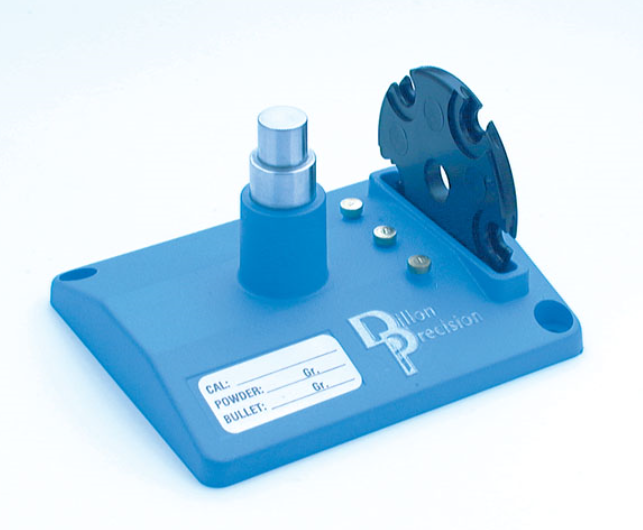
I could have ordered a stand, sure. They are very reasonably priced at around $20. However, it was a snowy cold day and I had some time, plus I hate waiting, so I decided to try to design my own. I used Microsoft’s 3D Builder application that is now part of the Windows 10 OS. I have been using 3D Builder to view designs that I had downloaded and save them in STL format for a while. I have even imported some models of my own and printed some rough items like keychains and such. I hadn’t used it to start a design from scratch… until now.
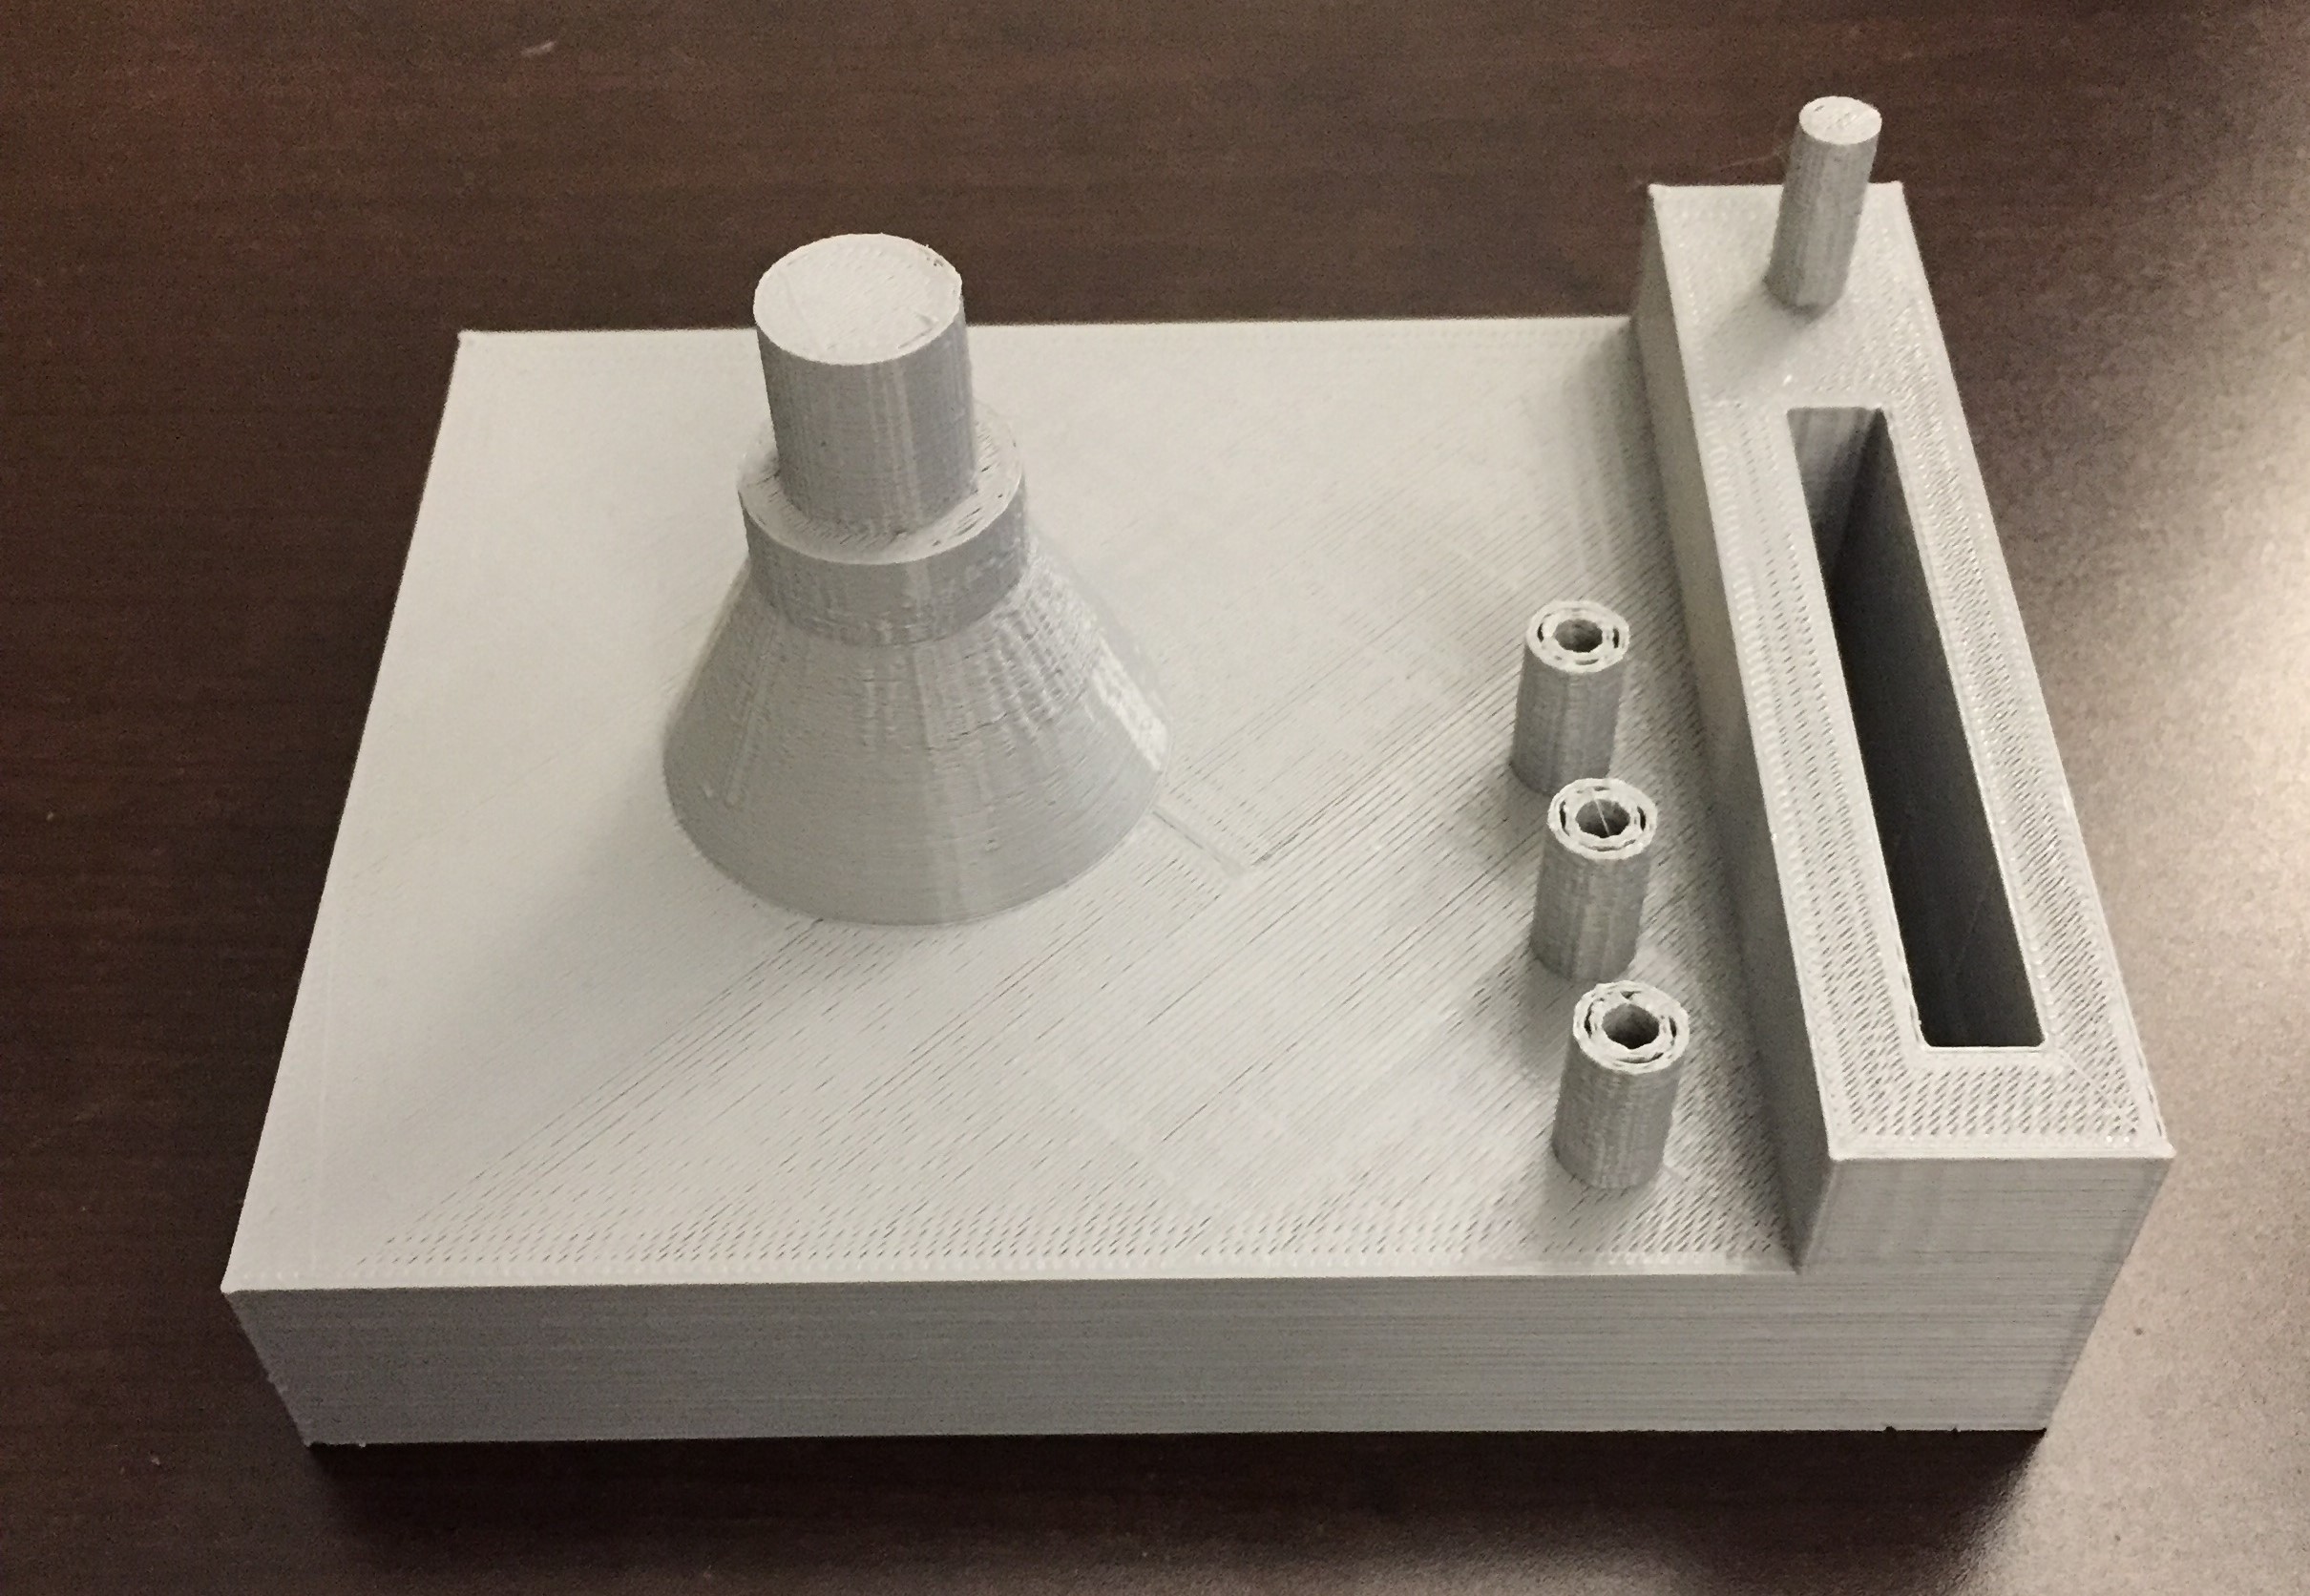
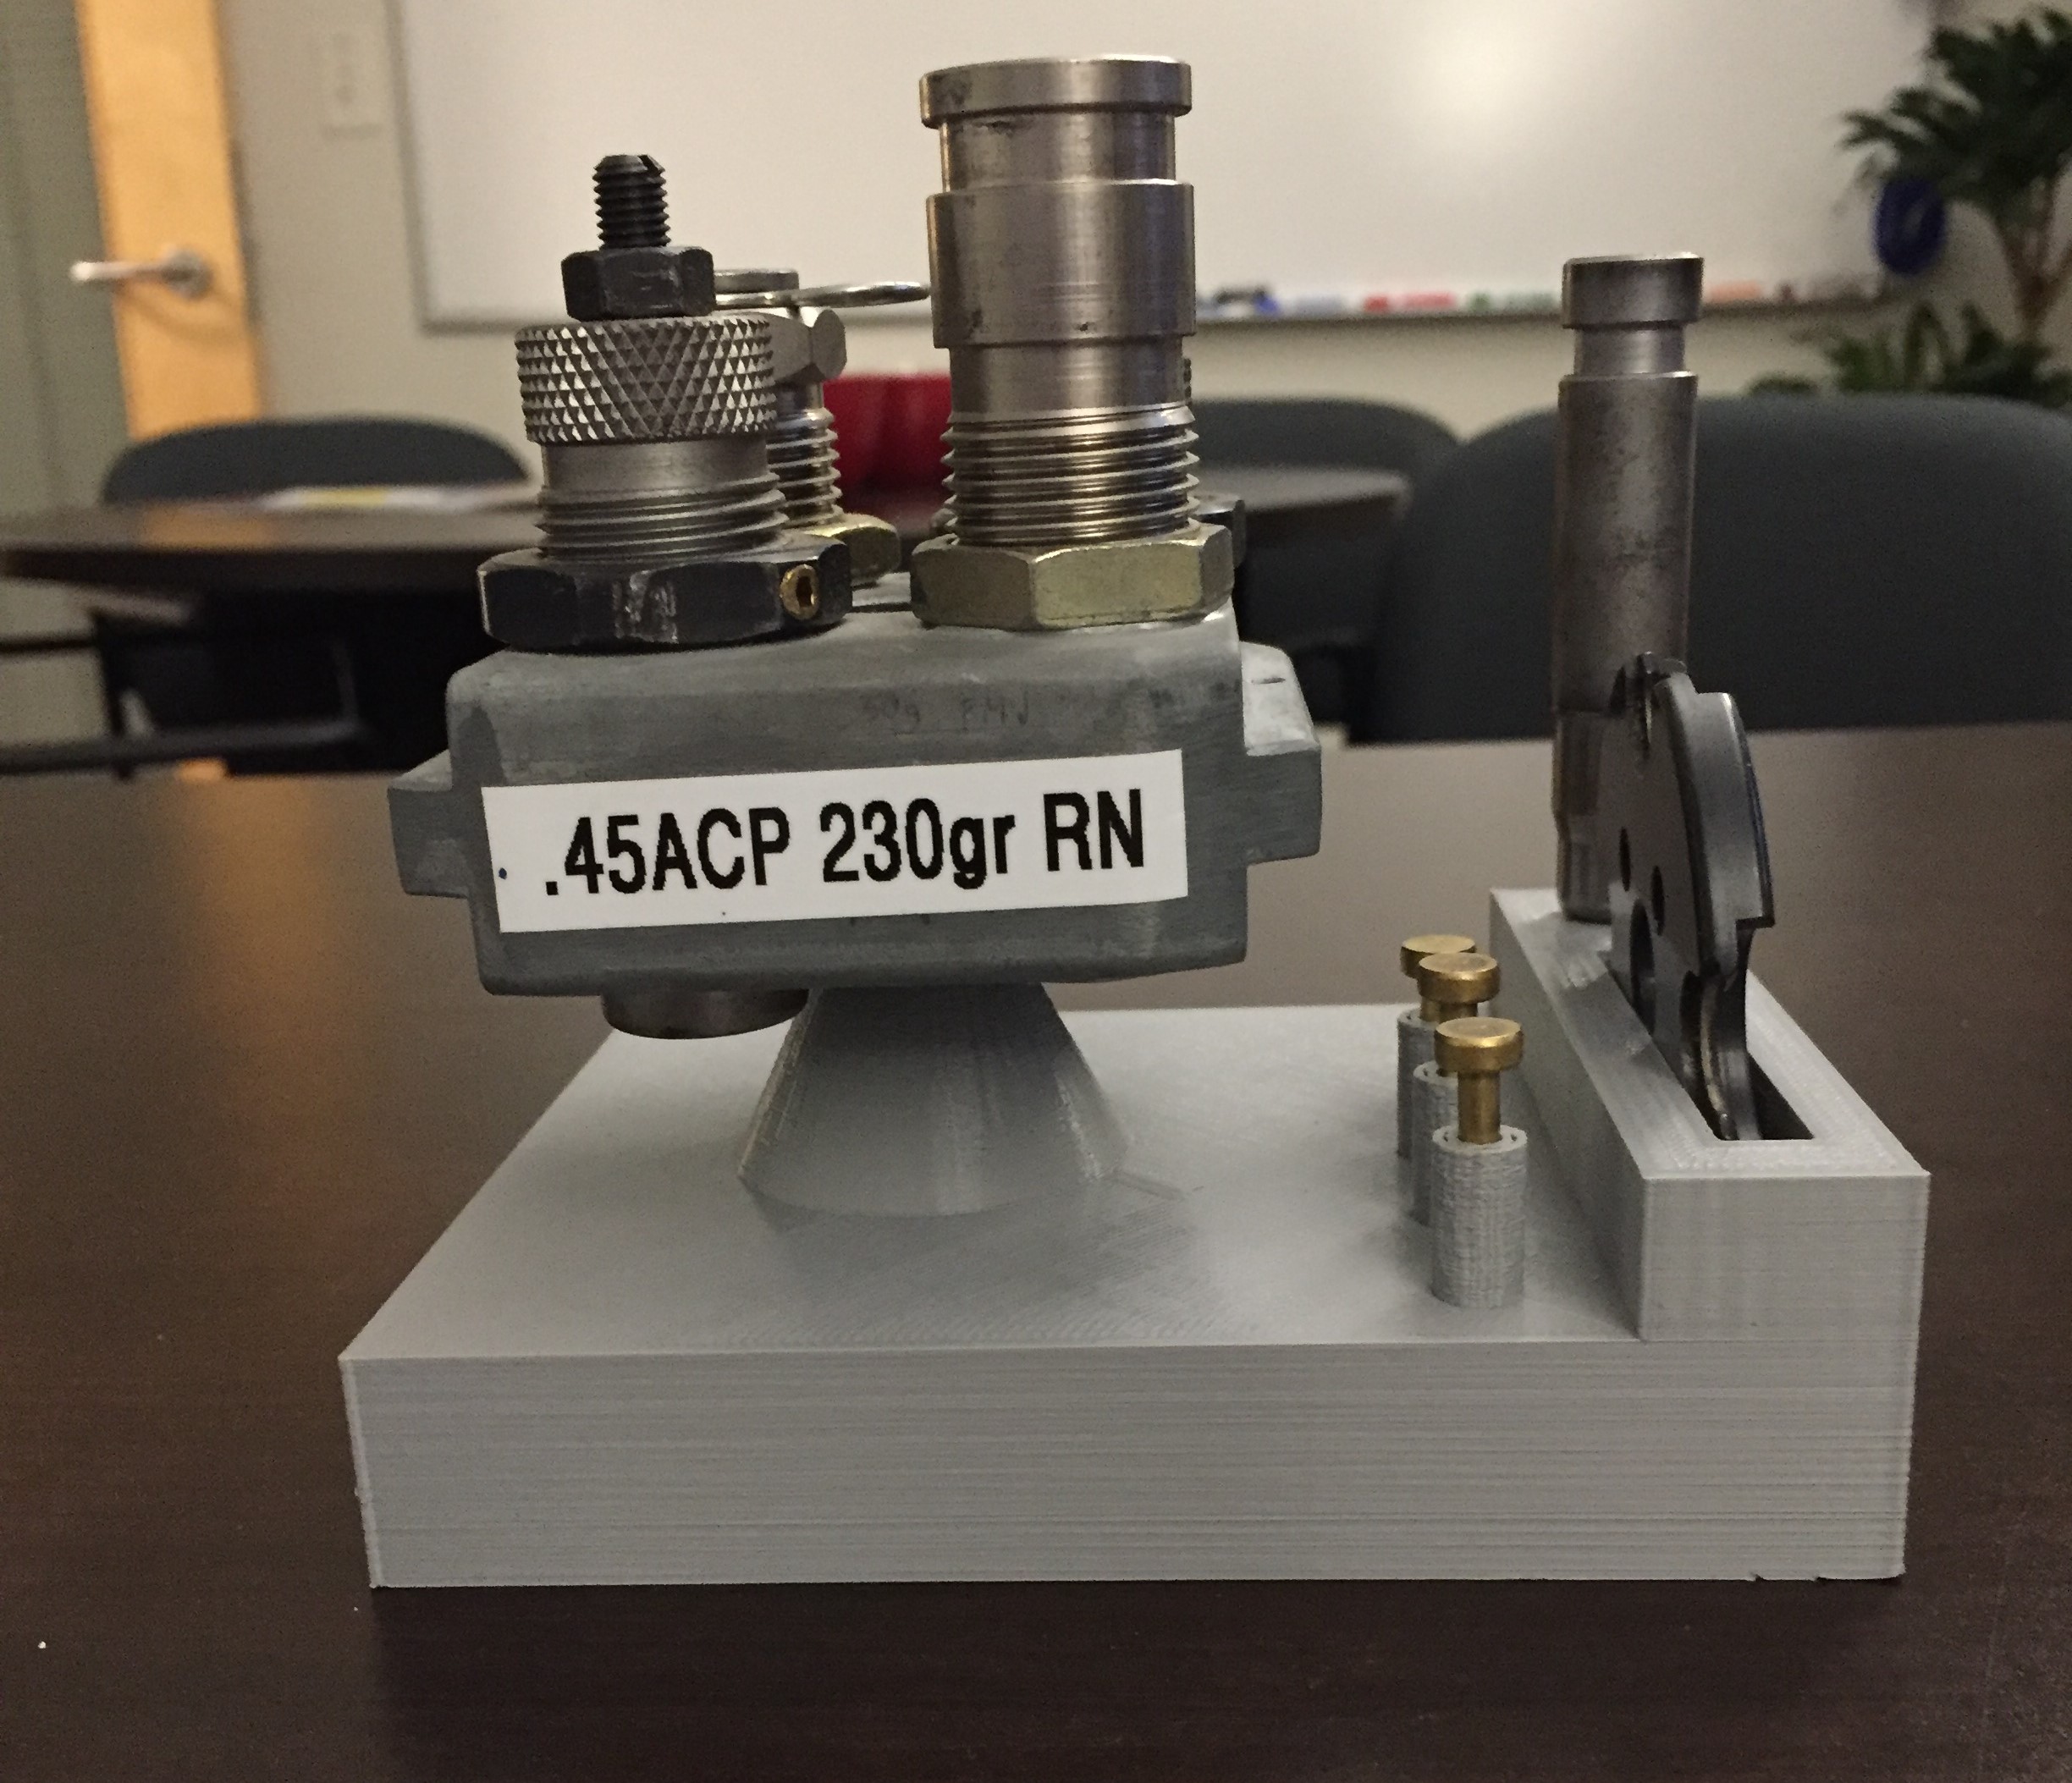
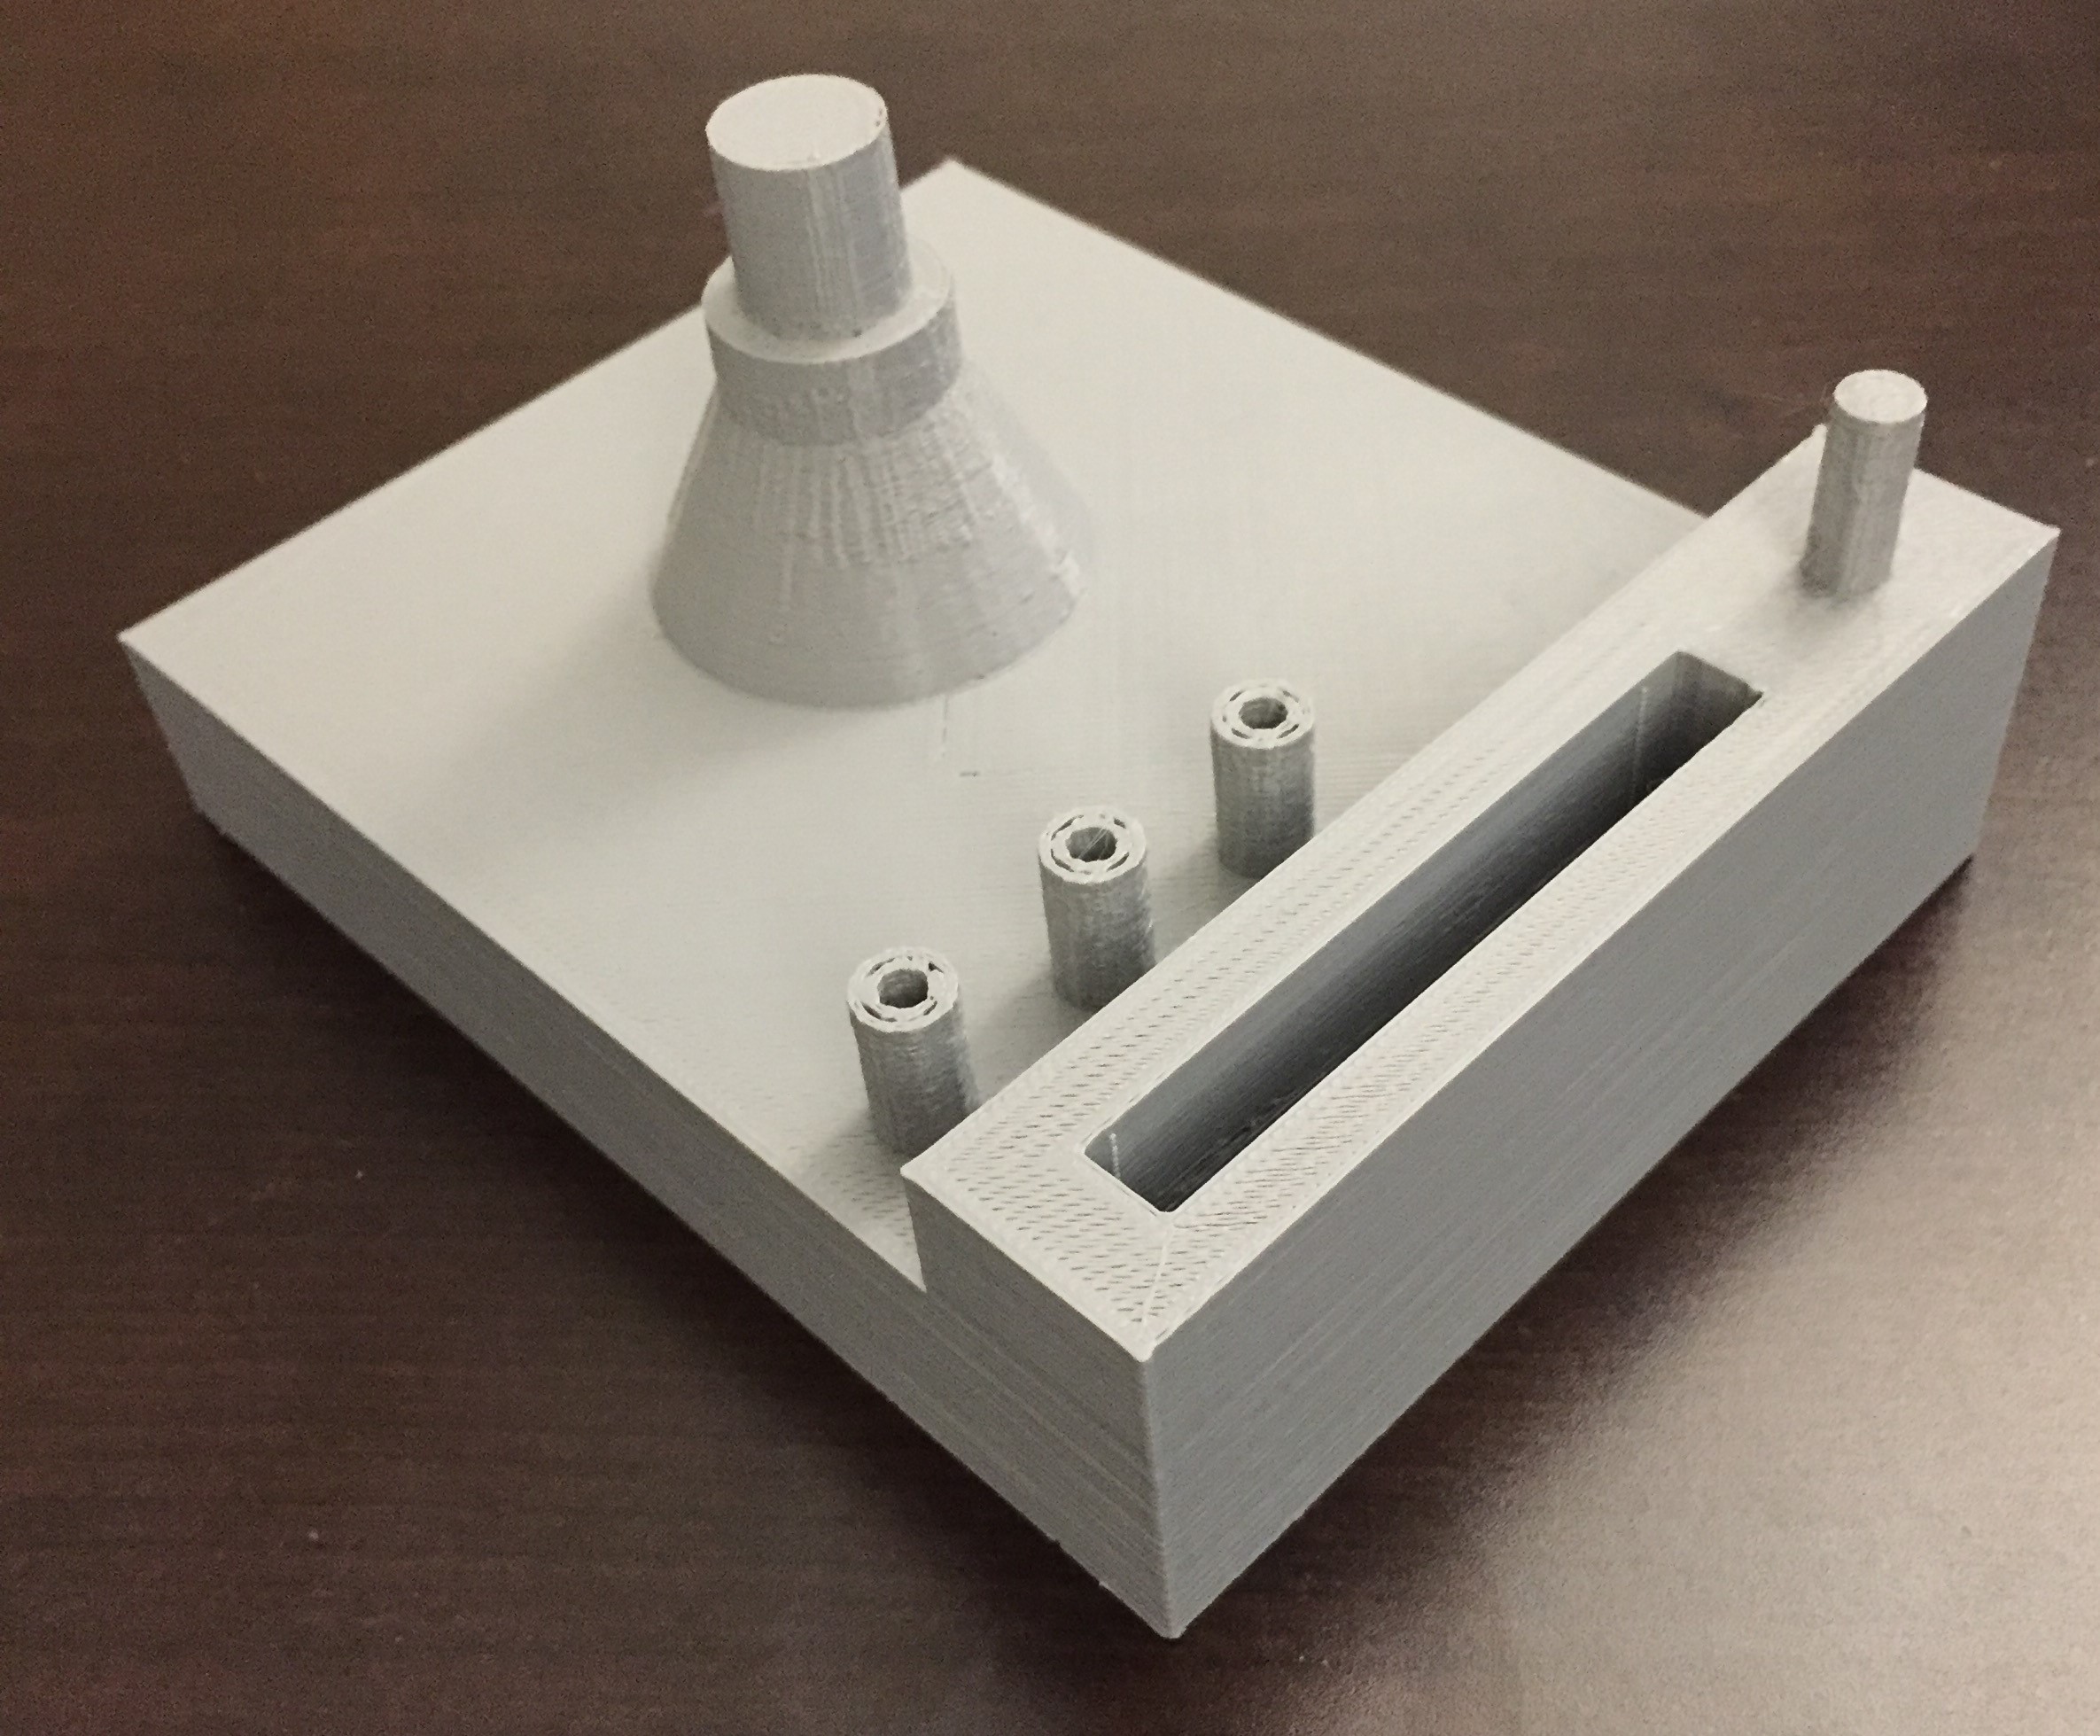
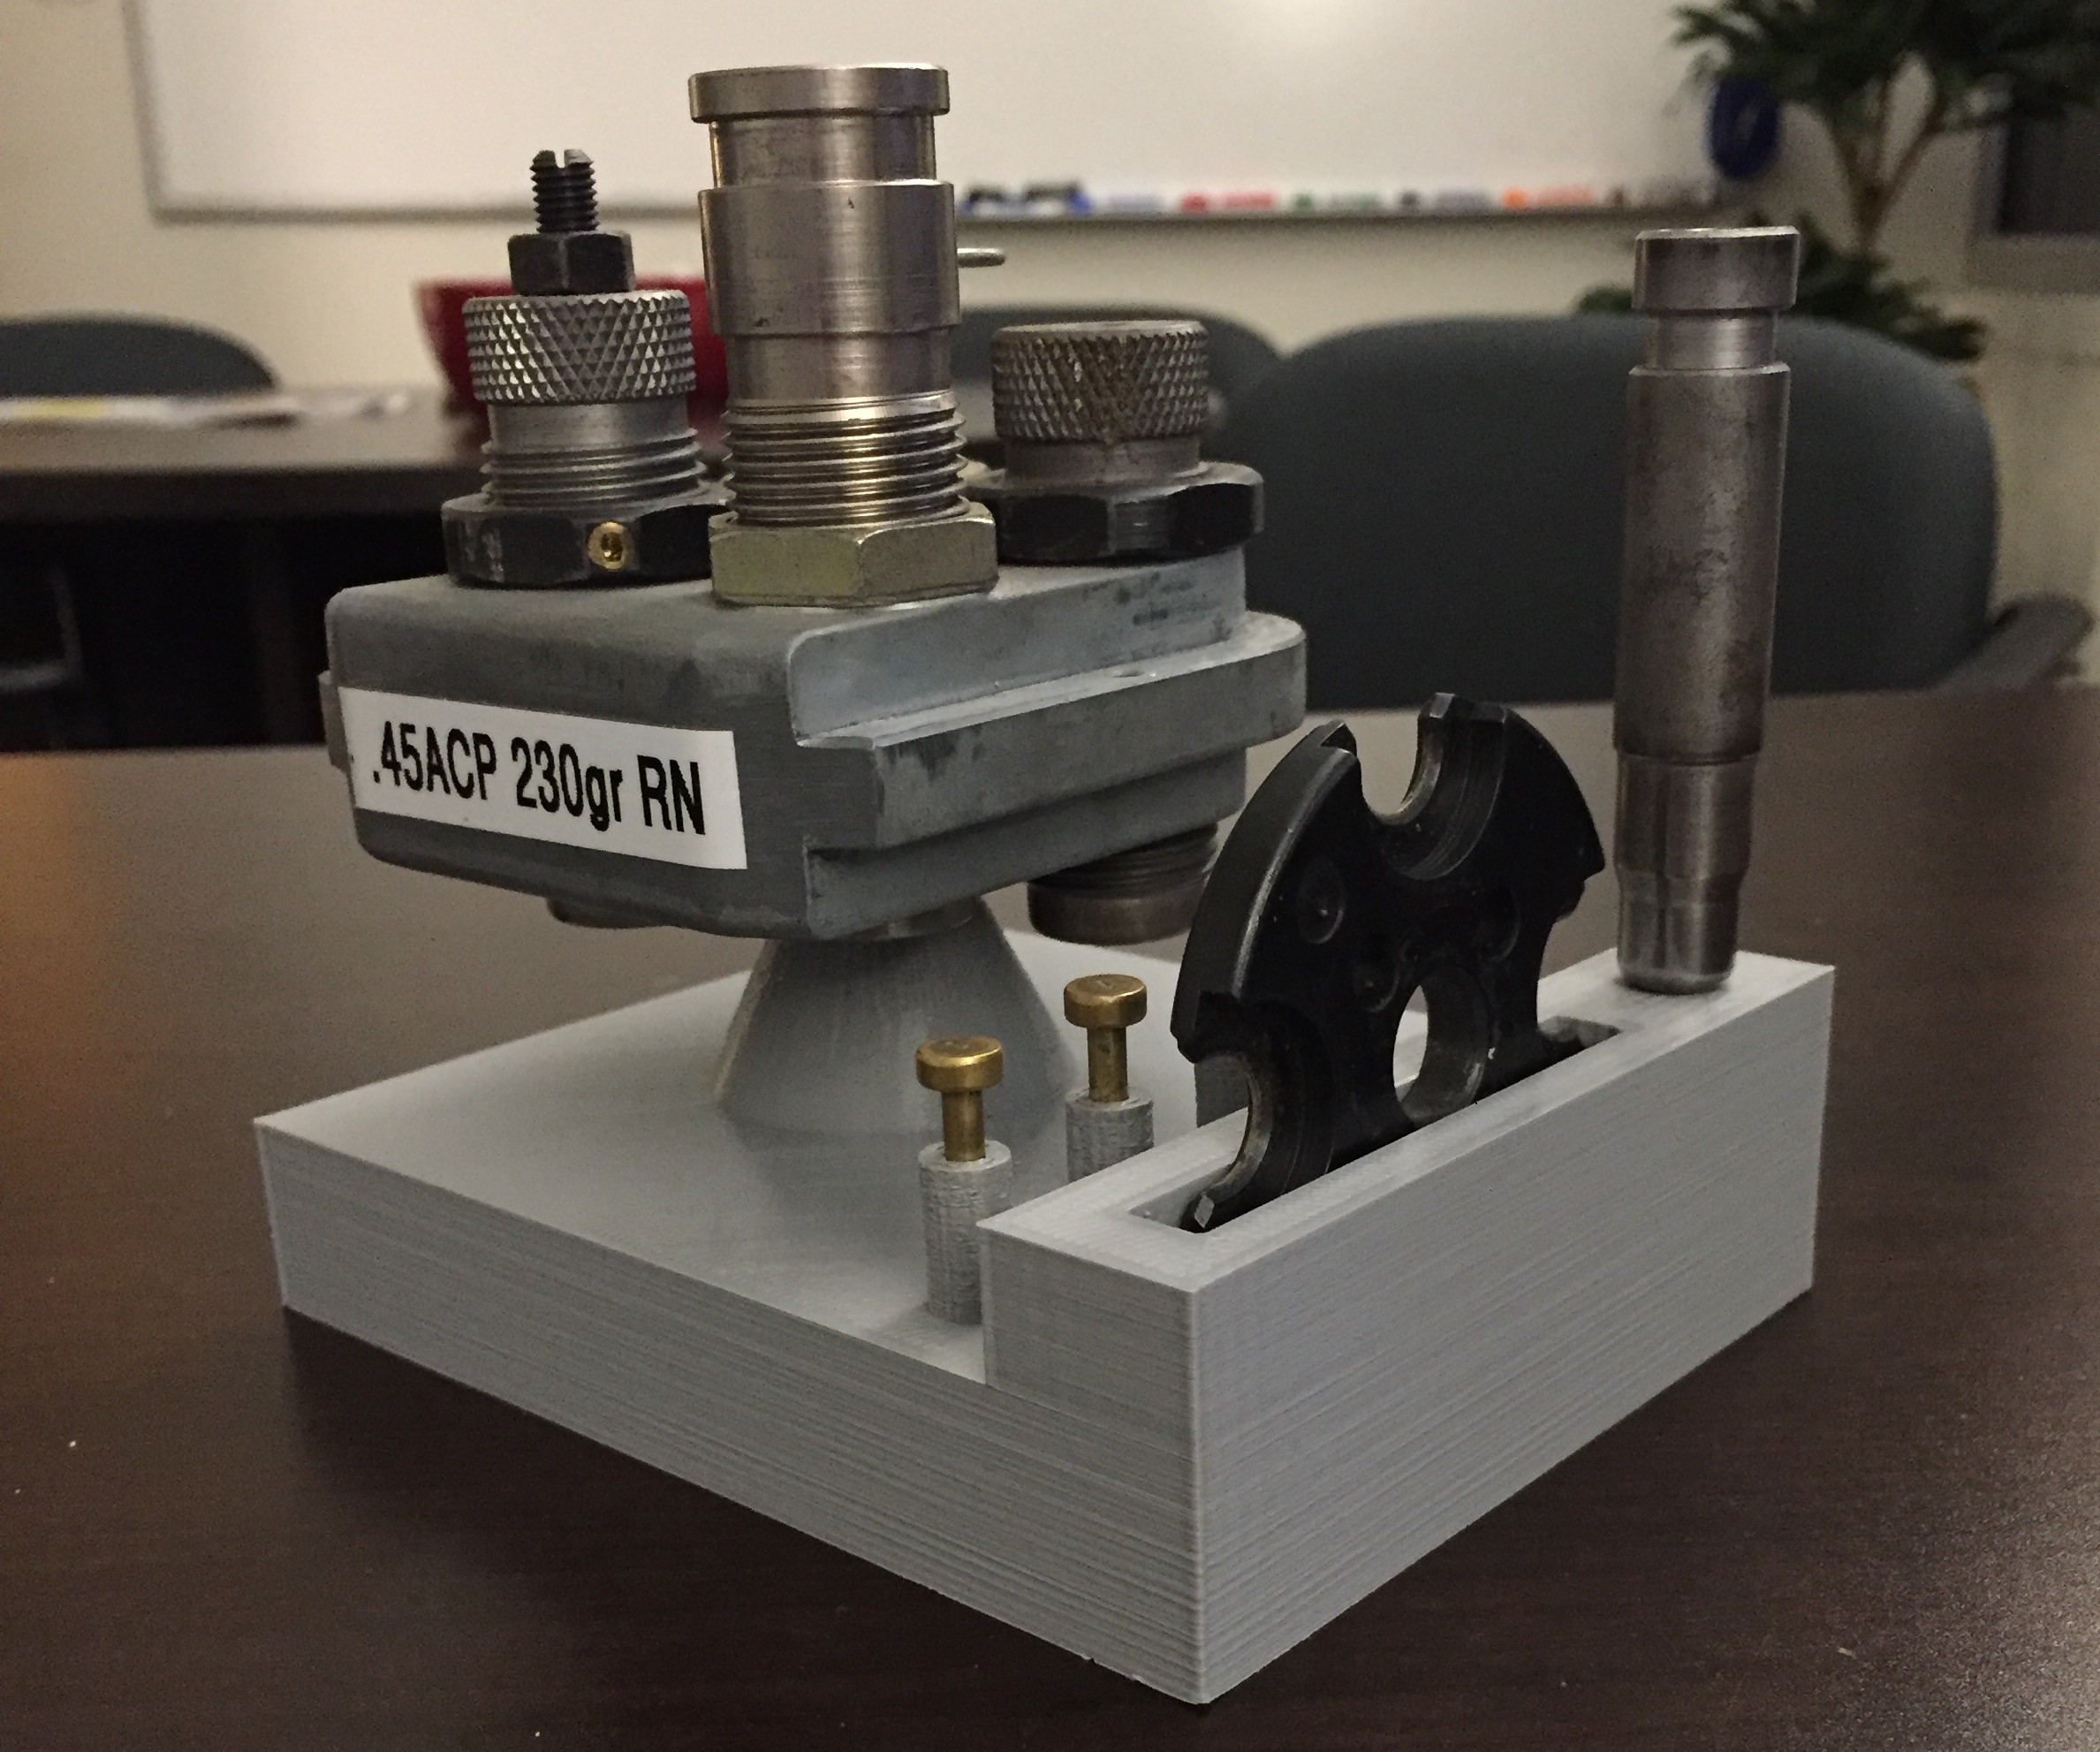
I started out with the basic concept of the Dillon stand. Since I didn’t have one to measure I based mine off the dimensions of my toolhead. This lead me to start with a rectangle base measuring 5″x4″x1″. From there I used a digital caliper to measure the toolhead, buttons and shell plate for post dimensions. The rest of the process was using the features to subtract the negative spaces and merge the objects into a single piece. The merge process was critical as my first attempt printed the objects as single pieces and it fell apart.
Finally I saved the STL file, used MatterControl to slice it into GCODE and uploaded it to my OctoPrint server. From there I just clicked “print” and 11.5 hours later I had my stand, it fit perfectly and I have a great sense of satisfaction.
Here is the link to the files on thingiverse.com: Dillon 550 650 Toolhead Stand by Bruce Fyfe
 |
 |
 |
 |